Large home projects have a way of producing more material than anyone expects. A spare room becomes a stack of old furniture, a fence replacement leaves a yard full of boards, and a small renovation can quickly cover the garage with cabinets, flooring, packaging, and broken fixtures. Once ordinary trash service is no longer enough, homeowners need a temporary place to collect that material and a dependable way to carry it away.
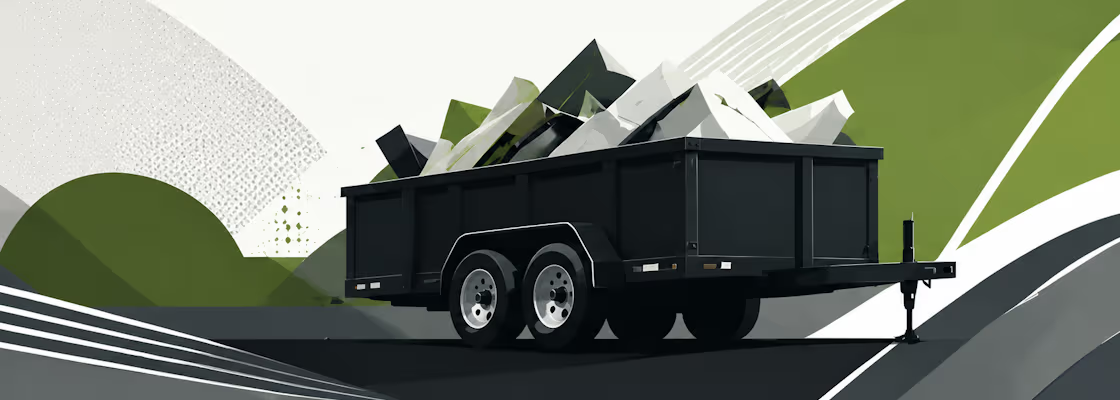
A dump trailer is one answer. It is a towable container delivered to the property, left there while the customer loads it, and collected when the work is finished. For someone who has never rented one, the process may raise unfamiliar questions. Where can the trailer sit? How much room does delivery require? What can go inside? How should it be loaded, and what must happen before the driver returns?
Those questions matter because the trailer becomes part of the worksite for the length of the rental. A little preparation can protect the driveway, reduce physical effort, prevent delays, and make the final trip safer. This guide introduces the complete process for Katy-area homeowners, beginning with the property itself and following the project through loading and pickup.
Plan the Delivery Before the Trailer Arrives
A dump trailer can make a renovation, landscape cleanup, move, or major decluttering project much easier, but a successful rental begins before the wheels reach your property. Walk the site and picture the complete delivery path, not only the final parking spot. The driver needs room to enter, turn, back up, lower the trailer, and leave safely. Measure narrow gates and watch for roof overhangs, tree limbs, utility lines, sprinkler heads, mailboxes, parked vehicles, and tight corners. A trailer that fits in the driveway may still be difficult to place if the tow vehicle cannot line up with it.
Think about the project workflow as well. The best location is close enough to reduce long carries but far enough from the work area that it will not block contractors, deliveries, or emergency access. In Katy neighborhoods, driveways are often the most stable option. A compacted gravel area may also work when it is level and accessible. Grass, saturated soil, steep slopes, pavers, and recently poured concrete deserve special consideration. Sharing photos and measurements with GreenPath Junk Removal before delivery lets the team identify placement concerns early and recommend a practical approach.
Prepare a Stable, Clear Placement Area
Clear the entire footprint of the trailer and several feet around it. Move cars, trash carts, sports equipment, hoses, toys, portable basketball goals, and landscape materials. Trim low branches if they interfere with access, and mark hard-to-see irrigation heads or drainage features. If the driveway has an automatic gate, confirm that it opens completely and that the driver will have a reliable way to enter. A clean, visible space shortens delivery time and reduces the risk of damage to objects that could otherwise be hidden from the driver’s view.
Surface condition matters because a loaded trailer weighs much more than an empty one. Check older concrete for significant cracking or weak edges and avoid placing the trailer over septic components or underground structures. Ask GreenPath about driveway protection when discussing your rental. Never move or reposition a delivered trailer yourself unless the provider has specifically authorized it. The trailer should remain where it was professionally placed so it stays level, stable, and reachable at pickup.
Protect Neighborhood and Household Access
A trailer should not turn an efficient cleanup into a traffic problem. Confirm that family vehicles can leave when needed and that sidewalks, neighboring driveways, hydrants, and street sightlines remain open. If the approach depends on curb space, speak with nearby neighbors before delivery and ask them to keep the area clear during the expected window. Homeowners associations and municipalities may regulate trailers placed on public streets or left visible for extended periods, so review applicable rules and obtain any necessary permission before the rental begins.
Plan for people and pets after placement. Children should not climb on the trailer, and pets should be kept away from open doors and loose debris. At night, the area should be visible and the doors secured. Contractors and household members should know what belongs in the load and what must remain on the property. These simple boundaries prevent accidental disposal, injuries, and the frustrating job of unloading material to retrieve something that was thrown away by mistake.
Confirm What the Trailer Can Accept
Do not assume that every unwanted item can go into one mixed load. Ordinary household contents, furniture, yard debris, and many construction materials may be accepted, but the exact rules depend on disposal requirements and the rental agreement. Paint, solvents, fuel, chemicals, batteries, propane cylinders, medical waste, pressurized containers, and other hazardous materials typically require specialized handling. Refrigerators, air conditioners, tires, mattresses, electronics, and appliances may have separate conditions or fees. Ask about uncertain items before loading them.
Heavy materials need special planning. Concrete, brick, soil, roofing, tile, and stone can exceed a trailer’s weight limit long before the container looks full. Mixing dense debris with bulky household junk also makes weight difficult to judge. Tell GreenPath exactly what the project will generate so the right service and loading guidance can be provided. Sorting materials into clearly identified staging areas before work begins keeps prohibited items out, makes reusable goods easier to donate, and helps the final load move through responsible disposal channels.
Organize the Project for Efficient Loading
Stage items near the trailer without blocking its doors. Break down empty boxes, cabinets, and disposable furniture when it is safe to do so, and bundle manageable pieces of trim or brush. Remove doors or drawers from heavy furniture to reduce awkward movement. Use proper lifting technique, work with a partner on bulky objects, and use dollies rather than dragging heavy items across the driveway. Wear sturdy shoes and gloves; renovation debris may also call for eye and respiratory protection.
Begin with flat and substantial items that create a stable base. Place dense material low and distribute weight evenly from side to side. Fit smaller pieces into natural gaps instead of throwing everything into a loose central pile. Long objects should lie flat when possible and should never extend beyond the walls. Efficient packing increases usable volume, but compression is not worth creating an unstable load. Avoid standing on debris or using machinery to force material downward unless the rental provider has approved a safe procedure.
Keep the Load Safe for Road Travel
The trailer must be transportable on public roads after the project is complete. Keep all debris below the top edge and inside the container. Nothing should protrude from the rear doors or rest above the sidewalls, where wind and vibration could release it. Close the doors as directed and keep the area around the tongue and wheels clear. Do not add material after requesting pickup unless you have confirmed that the driver has not begun the trip.
Weather can change a safe load. Rain adds considerable weight to absorbent materials and can turn soil or construction dust into runoff. Wind can lift cardboard, insulation, plastic, and yard debris. Follow GreenPath’s instructions for covering or securing the trailer, and never attach a personal tarp in a way that interferes with operating equipment. If severe weather is expected, contact the team to discuss timing rather than improvising around an unstable or waterlogged load.
Coordinate Pickup and Avoid Last-Minute Delays
Estimate the loading schedule realistically and request pickup as soon as the completion time becomes clear. Before pickup, inspect the ground around the trailer, remove tools and loose debris, confirm the doors are ready, and reopen the same access path used for delivery. Vehicles that arrived after drop-off must be moved, and gates should be unlocked. If the load is higher, heavier, or materially different from what was originally discussed, disclose that change so the team can address it safely.
Projects do not always follow the calendar. If you need more time or realize that one trailer will not hold the material, contact GreenPath before the rental period ends. Early communication creates more options for an extension, swap, or additional service. Waiting until the scheduled pickup can interrupt the job and may create avoidable charges. GreenPath’s goal is to provide a straightforward, locally responsive disposal solution while prioritizing donation and recycling where practical. Visit the dump trailer rental service page to discuss your project, acceptable materials, delivery conditions, and scheduling.
A well-prepared rental site makes the entire project more predictable. When the trailer has a stable location, the access route remains clear, materials are sorted, and the load is balanced for travel, homeowners can spend their time completing the work rather than correcting preventable problems. GreenPath Junk Removal can help translate those principles into a practical delivery and pickup plan for the property, while directing reusable and recyclable material toward better outcomes whenever conditions allow.